
Simple Steps for Dealing with Everyday Damage
I’m going to explain how to disassemble an Elinchrom BX 500 Ri flash, an excellent unit from this brand which, in my case, I needed to open after several falls to the ground during outdoor shoots.
After a number of falls, the mains power socket and the on/off switch had been pushed inwards, causing some damage inside the unit. The flash normally falls backwards, towards the control panel, because the wind catches whichever softbox or modifier is attached to the front.
I often use a metal beauty dish, which is less affected by the wind, although even that does not completely prevent the flash from falling if the stand is not properly secured or someone is not holding it.
Before going any further, two important warnings:
It is highly recommended that an Elinchrom flash be repaired and handled by qualified Elinchrom service technicians.
Working inside the flash can be extremely dangerous because the capacitors may retain electrical charge and can cause a serious electric shock if handled incorrectly.
With those two points made clear, I’ll explain how I disassembled this Elinchrom flash. The only tool required for the casing is a Torx screwdriver.
All the photographs in this article were taken with a Samsung Galaxy S4 — you do not need a DSLR for everything.
The first step is to remove the modelling lamp, which simply pulls out. Unlike a halogen bulb, touching it with your fingers is not a major problem. I still prefer to use a piece of kitchen paper so I do not leave grease from my fingers on the glass, as this can produce a smell the first time the lamp heats up.
Next, remove the reflector bowl by undoing three screws:
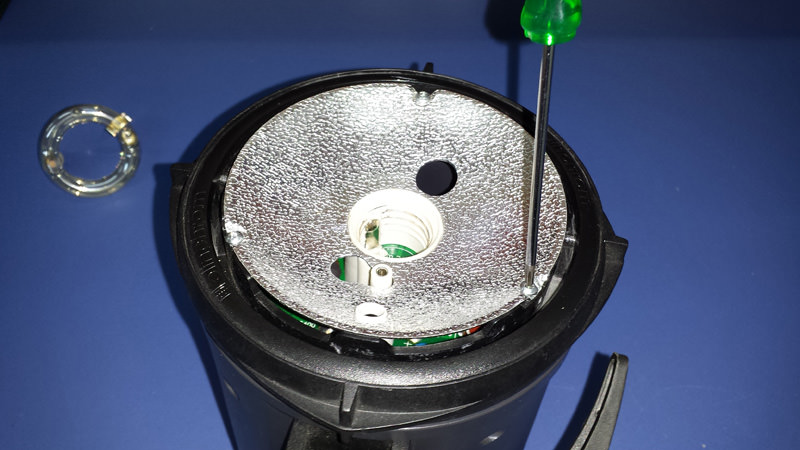
Once these three screws have been removed, the reflector plate comes away easily. The black plastic locking ring used to secure flash accessories also comes off, along with the plastic tube through which the umbrella shaft is inserted.
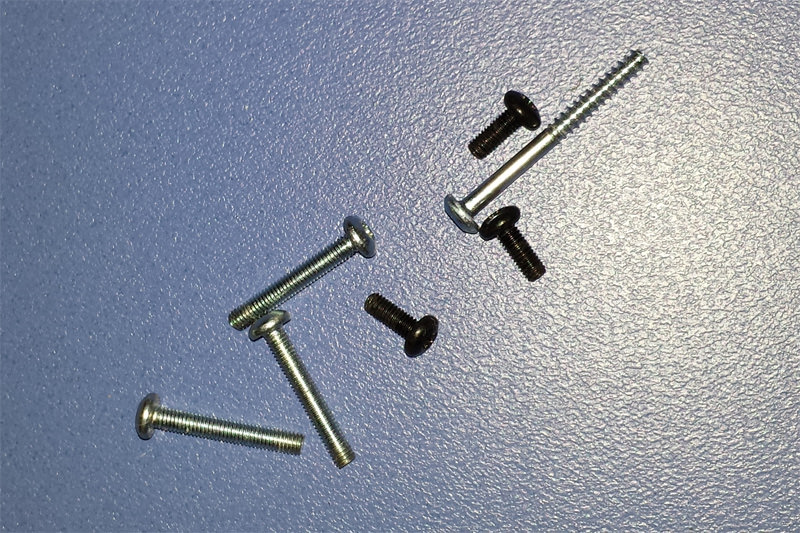
Next, remove the screws visible along the grey plastic side panels of the flash. They are all short screws except for the one near the air intake, which is slightly longer:
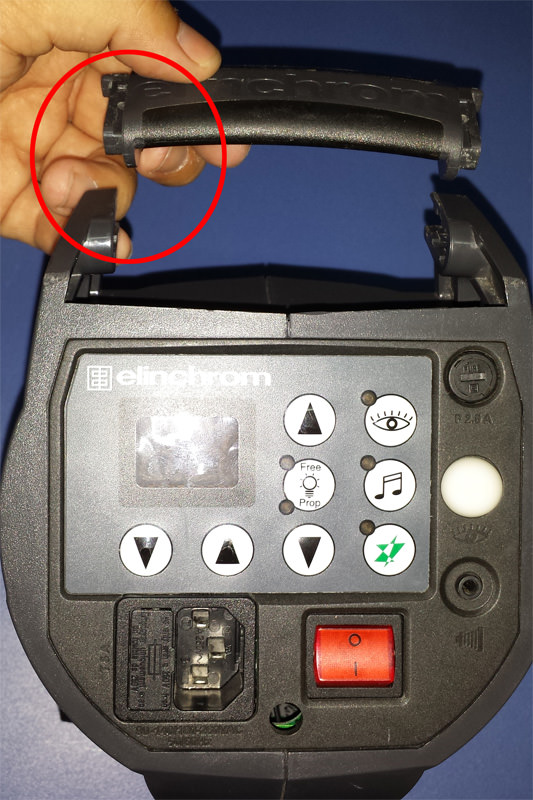
After removing the side screws, the flash handle must be taken off. To do this, press the retaining tabs on both sides and pull firmly:
Once this is done, the two plastic side panels can be removed. They slide along guides in the flash control panel, giving access to the inside of the unit and allowing the damage caused by the falls to be inspected.
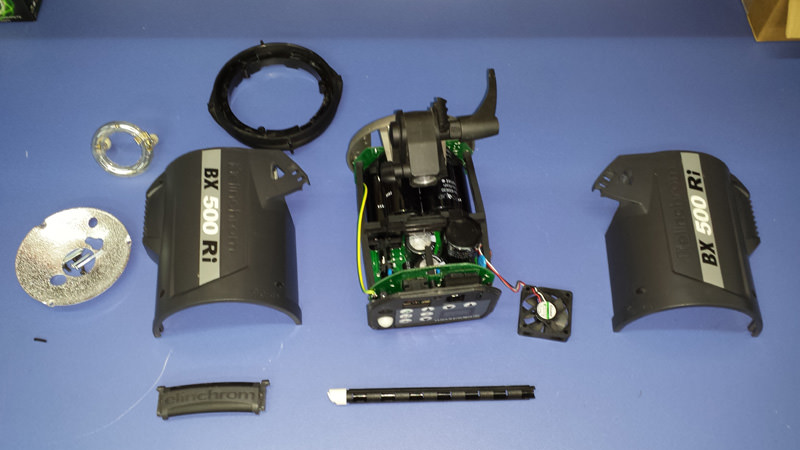
In my case, as soon as I opened it, I could see that the PCB containing the mains power input and on/off switch had been bent, and part of the plastic structure had also been damaged:
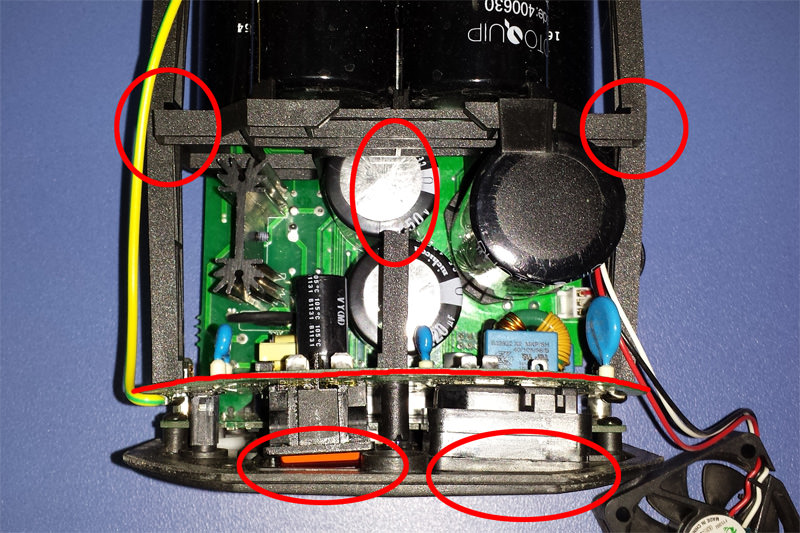
In the marked areas, both the plastic parts and the PCB can be seen to be deformed. The switch and mains connector had been pushed inwards, while a plastic support in the centre had broken. This part had absorbed much of the impact and also takes some of the pressure when connecting the power cable or operating the switch.
Carefully, and with the help of a screwdriver, I repositioned everything, located the loose broken piece of plastic and repaired it with cyanoacrylate adhesive:
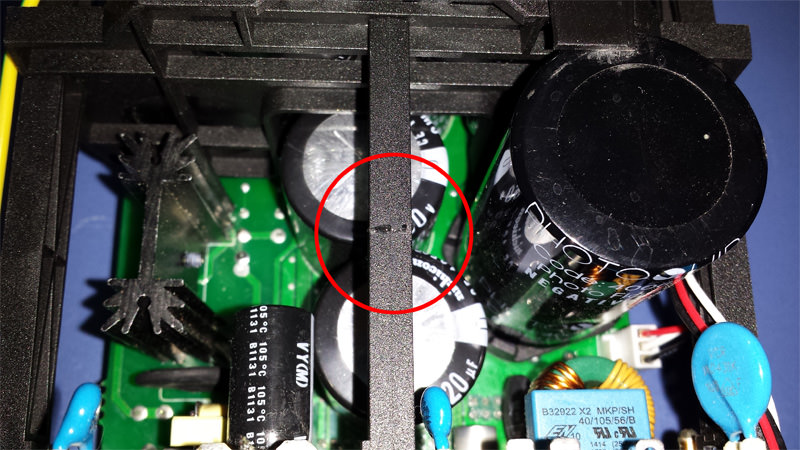
I was lucky. Thanks in part to the quality of the flash, none of the PCB tracks had broken and none of the electronic components had been damaged by the impact.
It also helped that the affected PCB uses conventional through-hole components rather than SMD components. With this level of deformation, surface-mounted components would probably have been much more vulnerable to damage.
Using a similar procedure, I have also repaired the 400 model from the same brand after capacitor failures caused by extremely intensive use.
Reassembly is simply the reverse of the disassembly process.
The flash was working perfectly again afterwards, and I hope it still has many years of service ahead of it.
It really is an excellent flash unit and, as this experience showed, very solidly built.
Conversation